
Agent A-Team or Solo Superhero? Finding the Right Real Estate Partner for Your Selling Journey in Wildwood Florida
When it comes to selling your home in Wildwood, Florida,…
January 29, 2024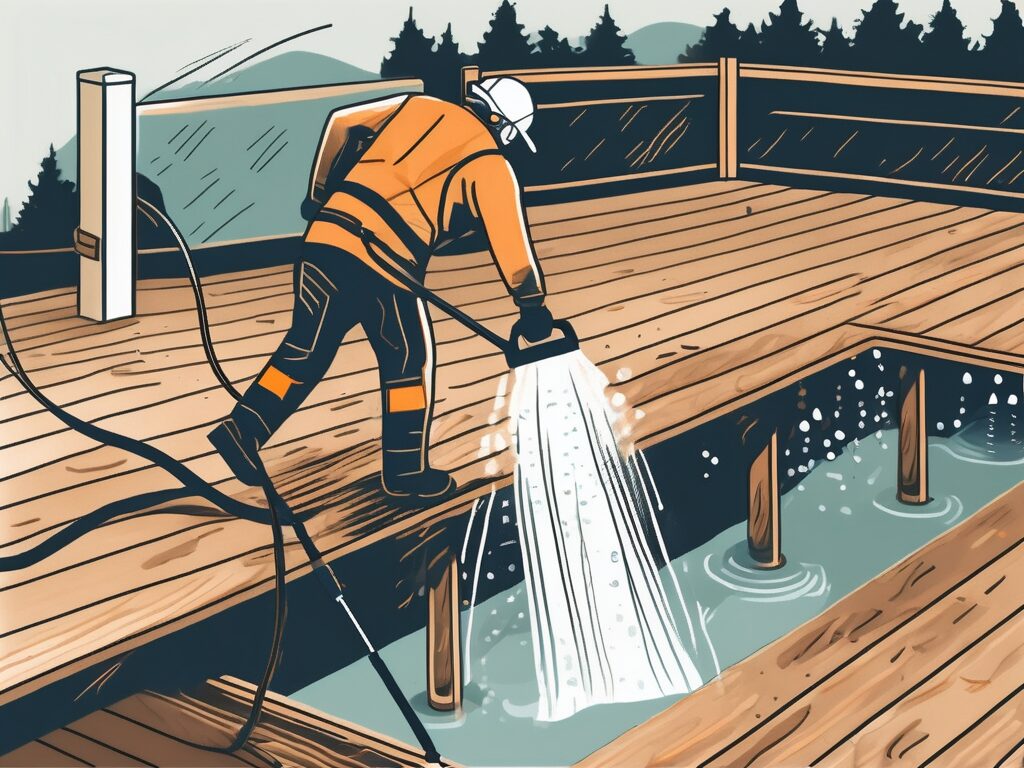
Power washing your deck is a great way to keep it clean and maintain its beauty. However, it’s important to proceed with caution to avoid damaging the wood or injuring yourself. With the right tools, techniques, and knowledge, you can safely power wash your deck and achieve excellent results. In this step-by-step guide, we will walk you through the process, from choosing the perfect power washer to allowing your deck to dry before applying stain.
Before starting any power washing project, it’s crucial to select the right power washer that suits your deck’s needs. Consider the following factors when choosing a power washer:
When selecting a power washer, take into account the size and material of your deck, as well as your personal preferences. Factors to consider include:
Choosing the right power washer for your deck can make a significant difference in the outcome of your power washing project. By considering the factors mentioned above, you can ensure that you have the most suitable equipment for the job.
Deck materials vary, and it’s essential to find the right pressure to avoid damaging the wood. Here are some guidelines for different deck materials:
Understanding the specific needs of your deck material is crucial in determining the appropriate pressure for power washing. Applying too much pressure can result in splintering or gouging the wood, while insufficient pressure may not effectively clean the surface.
Softwood decks, such as those made of cedar or pine, are more delicate and prone to damage. Therefore, it’s important to use a power washer with lower pressure settings to ensure the wood remains intact and undamaged.
On the other hand, hardwood decks, like those made of mahogany or redwood, are more durable and can withstand higher pressure. This allows for a more thorough cleaning, removing deep-seated dirt and grime effectively.
For composite decking, which is a combination of wood fibers and recycled plastic, a low to medium pressure setting is usually sufficient. Composite materials are designed to be more resistant to the elements, but still require regular cleaning to maintain their appearance.
By understanding the specific pressure requirements for different deck materials, you can ensure that your power washing is both effective and safe for your deck. Taking the time to select the appropriate pressure settings will help prolong the lifespan of your deck and keep it looking its best.
While a power washer can effectively remove dirt and debris from your deck, pre-treating the surface with a deck brush can enhance the cleaning process. Here’s how to effectively use a deck brush:
Before diving into the power washing stage, it’s important to give your deck a little extra attention. A deck brush can be your secret weapon in achieving a truly spotless deck. By taking the time to pre-treat the surface, you’ll ensure that the power washer can work its magic more efficiently.
Prior to power washing, use a deck brush to remove loose dirt, leaves, and other debris. Start by sweeping the entire surface in the direction of the wood grain. This gentle sweeping motion will help dislodge any stubborn particles that have settled into the crevices of your deck.
As you brush, pay extra attention to corners, gaps, and crevices. These areas tend to accumulate more dirt and debris, so a thorough scrubbing will ensure that no speck of dust is left behind. By meticulously going over every nook and cranny, you’ll be laying the foundation for a truly pristine deck.
Don’t be afraid to put some elbow grease into it! Applying a bit of pressure while brushing will help loosen any embedded dirt, making it easier for the power washer to blast it away later. Remember, the more thorough your pre-treatment, the better the final result will be.
Once you’ve finished brushing, take a step back and admire your hard work. You’ll notice that your deck already looks significantly cleaner. But don’t stop here – the power washing stage is where the real transformation happens.
So, armed with your trusty deck brush and a determination for a spotless deck, you’re ready to move on to the next step: power washing. But before you do, take a moment to appreciate the effort you’ve put into pre-treating your deck. Your deck will thank you for it!
Once you have chosen the right power washer and pre-treated your deck, it’s time to master the art of power washing. Follow these tips and techniques for safe and effective power washing:
Before starting the machine, ensure you are wearing protective gear, such as safety goggles and gloves. Also, take the following safety precautions:
Power washing can be a highly effective method for cleaning various surfaces, but it is important to prioritize safety. By wearing the appropriate protective gear and following the manufacturer’s instructions, you can minimize the risk of accidents or injuries. Maintaining a safe distance from the surface being cleaned is crucial to prevent any unintended damage or injuries caused by the powerful spray.
Additionally, it is essential to avoid pointing the nozzle directly at people, pets, or plants. The force of the water can cause harm, and it is best to keep all living beings at a safe distance during the power washing process. Lastly, never leave the power washer unattended. Always stay vigilant and ensure that the machine is properly turned off and stored away when not in use.
Before beginning power washing, familiarize yourself with the controls and settings of your specific power washer. Adjust the pressure, angle, and spray pattern according to your deck’s requirements. Start with low pressure and gradually increase only if necessary.
Each power washer may have different controls and settings, so it is crucial to understand how to operate your specific machine effectively. Take the time to read the user manual and become familiar with the various adjustments available. By understanding the controls, you can optimize the power washing process for your deck.
When it comes to pressure, it is generally recommended to start with low pressure and gradually increase it only if necessary. High-pressure settings can potentially damage the surface being cleaned, especially if it is delicate or made of softer materials. Adjust the angle and spray pattern to ensure even coverage and effective cleaning. By finding the right combination of pressure, angle, and spray pattern, you can achieve the best results for your deck without causing any unnecessary damage.
Before diving into power washing your deck, it’s crucial to properly prepare the area. Taking the time to clear the surroundings and protect nearby plants will ensure a smooth and safe power washing process.
One of the first steps in preparing your deck for power washing is to clear the area of any furniture or items. This will not only give you more space to work with but also prevent any accidental damage to your belongings. Take the time to carefully remove any chairs, tables, or other objects that may be on or around the deck.
Once the area is clear, it’s important to protect any nearby plants from the powerful spray of the power washer. One way to do this is by covering them with plastic sheets. This will create a barrier between the plants and the water, preventing any potential damage. Alternatively, you can also wet the plants thoroughly before starting the power washing process. This will help to minimize any negative effects the water may have on the foliage.
Before you begin power washing your deck, it’s essential to remove any loose debris that may be present. Leaves, twigs, and other small objects can get in the way and hinder the effectiveness of the power washer. To clear the surface, you can use a broom or a leaf blower. Sweep away any debris, making sure to reach into the corners and crevices of the deck.
In addition to removing loose debris, it’s also advisable to move any large pieces of furniture, if possible. This will allow for a more thorough cleaning and ensure that every inch of your deck is properly power washed. By temporarily relocating your furniture, you can access hard-to-reach areas and achieve a more even and consistent clean.
Remember, proper preparation is key to a successful power washing project. By taking the time to clear the area, protect nearby plants, and remove loose debris and furniture, you’ll be well on your way to restoring the beauty and longevity of your deck.
When power washing your deck, following a systematic approach can ensure that every part of the surface is thoroughly cleaned. Here’s how to achieve a spotless deck:
Before diving into the cleaning process, it’s important to understand the importance of maintaining a clean deck. A well-maintained deck not only enhances the overall appearance of your outdoor space but also extends its lifespan. Regular cleaning helps remove dirt, grime, mold, and mildew, preventing them from causing damage or creating a slippery surface.
Divide your deck into manageable sections to avoid becoming overwhelmed or missing any spots. This systematic approach ensures that you give equal attention to every part of the deck. Start with one section at a time, working your way across the deck systematically.
As you divide your deck into sections, take a moment to assess the condition of each area. Identify any stubborn stains, areas with heavy foot traffic, or spots that require extra attention. This preliminary evaluation will help you prioritize your cleaning efforts and ensure a thorough cleaning process.
The techniques used to clean your deck can vary based on the type of surface. Different deck materials require specific care to avoid damage. Here are some tips for cleaning different deck surfaces:
Remember, regardless of the deck surface, it’s crucial to use the appropriate cleaning solution. There are various deck cleaners available in the market, specifically formulated for different materials. Always read the product labels and follow the instructions carefully to achieve the best results.
Additionally, consider using a deck brightener after cleaning. Deck brighteners help restore the natural color and vibrancy of the wood, leaving your deck looking fresh and rejuvenated.
By following these systematic approaches and using the proper techniques, you can achieve a spotless deck that will be the envy of your neighbors. Regular maintenance and cleaning will not only keep your deck looking its best but also ensure its longevity, allowing you to enjoy many memorable moments outdoors.
After power washing your deck, it’s crucial to allow it to fully dry before applying any stain or sealer. This step is often overlooked, but it is essential for achieving a beautiful and long-lasting finish. When you take the time to properly dry your deck, you ensure that the stain or sealer adheres evenly and penetrates the wood, providing maximum protection against the elements.
Follow these guidelines for optimal drying:
The drying time can vary depending on factors such as weather conditions, sunlight exposure, and deck material. If you live in a humid climate or have recently experienced rain, it may take longer for your deck to dry. On the other hand, if you have a sunny and dry day, the drying process may be faster.
As a general rule, allow your deck to dry for at least 48 hours before applying any staining or sealing products. This timeframe ensures that the moisture content in the wood is sufficiently low, allowing the stain or sealer to penetrate effectively. However, it’s important to note that this is just a guideline, and you should always check the moisture level with a moisture meter to ensure it’s adequately dry.
During the drying period, it’s crucial to keep your deck protected from any sources of moisture. This means avoiding any activities that could introduce water to the surface, such as watering plants nearby or allowing sprinklers to hit the deck. Additionally, if you live in an area with high humidity, you may want to consider using fans or dehumidifiers to expedite the drying process.
By following this step-by-step guide, you can safely and effectively power wash your deck, keeping it clean and beautiful for years to come. Remember to always prioritize safety and take necessary precautions throughout the process. With proper drying, your deck will be ready for the next step: applying the stain or sealer of your choice.

If you want the Richr team to help you save thousands on your home just book a call.
 Book a call
All information provided is deemed reliable but is not guaranteed and should be independently verified. You should consult your own professionals for financial, legal, or tax advice and conduct your own due diligence. Brokerage services are provided by Richr Homes, FL License # 1060165. Services of Richr's affiliates, Richr Insurance and Richr Title, are optional and can be used in combination or separately.