
Agent A-Team or Solo Superhero? Finding the Right Real Estate Partner for Your Selling Journey in Wildwood Florida
When it comes to selling your home in Wildwood, Florida,…
January 29, 2024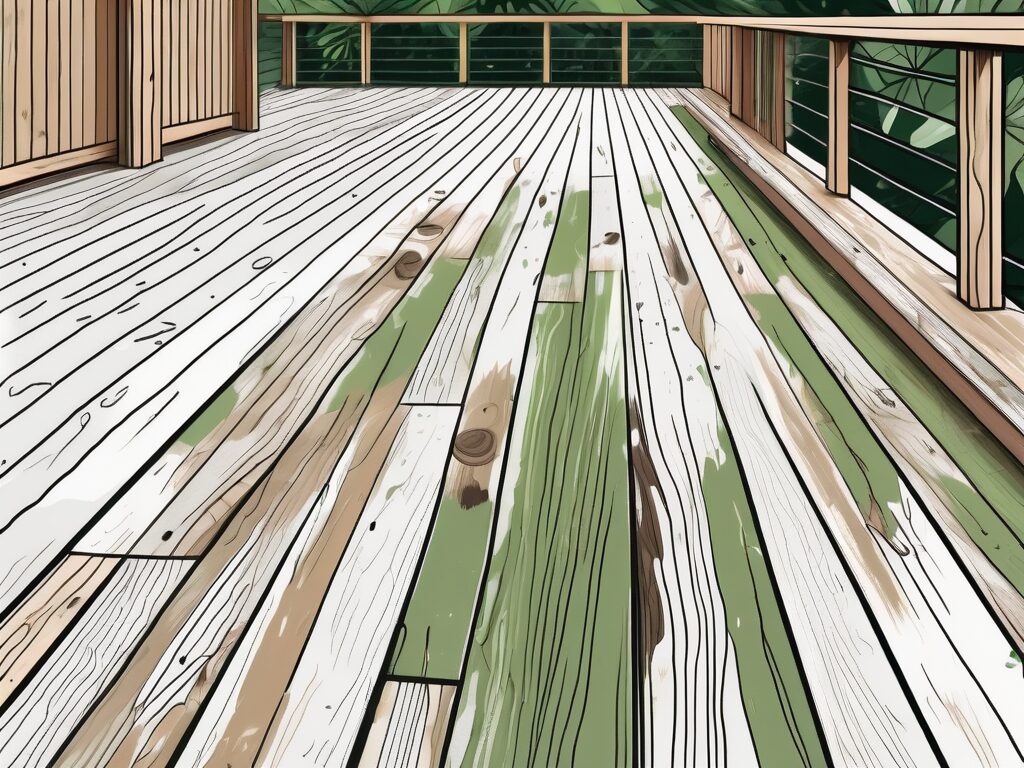
A well-maintained deck can be the perfect addition to any outdoor space. But after years of exposure to the elements, your deck may start to show signs of wear and tear. Don’t worry though, with the right tools and techniques, you can bring your deck back to life. This article will guide you through the process of deck restoration, from preparing your deck for restoration to choosing the right stain and applying it effectively. So, let’s get started!
Before you begin the deck restoration process, it’s important to gather all the necessary supplies. Here are some essential items you’ll need:
Once you have your supplies ready, it’s time to clear the deck and prepare it for restoration.
Start by removing any furniture, plants, or accessories from the deck. This will give you a clear and unobstructed workspace. Take the time to carefully relocate these items to a safe and protected area, ensuring they won’t be damaged during the restoration process.
With the deck cleared, it’s time to tackle the debris. Use a broom to sweep away loose debris such as leaves, twigs, and dirt. Pay close attention to the corners and crevices, as these areas tend to accumulate more dirt and debris. By thoroughly sweeping the deck, you’ll create a clean canvas for the restoration process.
Next, take your putty knife and carefully inspect the deck boards. Look for any loose or splintered wood that needs to be addressed. Gently scrape away these imperfections, ensuring a smooth and even surface for the restoration process. Removing loose wood not only improves the appearance of the deck but also prevents potential hazards, such as splinters, for those who will be using the deck.
As you inspect the deck boards, keep an eye out for any nails or screws that may be sticking out. These protrusions can be a safety hazard and should be addressed promptly. Use a hammer or screwdriver to secure any loose nails or screws back into place, ensuring they are flush with the deck boards. By taking the time to fix these minor issues, you’ll create a safer and more enjoyable deck space.
Once the deck is cleared and any necessary repairs are made, it’s time to assess its condition. Take a step back and examine the overall state of the deck. Look for signs of wear and tear, such as fading color, water damage, or cracks in the wood. Understanding the current condition of your deck will help you determine the appropriate restoration techniques and products needed to bring it back to its former glory.
Before you proceed with the restoration process, it’s important to identify any signs of damage or decay. Taking the time to thoroughly inspect your deck will ensure that you address any issues before they worsen. By doing so, you can extend the lifespan of your deck and enjoy it for years to come.
Here are some common indications that your deck may need restoration:
If you notice any of these issues, it’s crucial to address them before proceeding further. Repair or replace damaged boards, tighten any loose hardware, and clean the deck thoroughly. Taking these steps will not only improve the overall appearance of your deck but also ensure its safety and longevity.
Additionally, while inspecting your deck, it’s a good idea to check for any signs of insect infestation. Termites and other wood-boring insects can cause significant damage to the structure of your deck. Look for small holes, sawdust-like residue, or hollow-sounding wood, as these are all potential indications of an infestation.
Furthermore, consider the overall stability of your deck. Walk around and pay attention to any noticeable shifts or movements. If you feel any excessive bouncing or swaying, it may be a sign that the support beams or footings need reinforcement.
Remember, regular maintenance and inspection are key to keeping your deck in optimal condition. By addressing any issues promptly, you can ensure that your deck remains a safe and enjoyable space for relaxation and entertainment.
Now that your deck is clear and any necessary repairs are made, it’s time to give it a thorough cleaning. A clean deck is essential for proper adhesion of the stain and will ensure a long-lasting finish. Here are some effective deck cleaning methods:
After cleaning the deck, allow it to dry completely before proceeding to the next step.
Mold and mildew can be particularly problematic for outdoor decks, especially in humid or damp climates. To remove mold and mildew from your deck, follow these steps:
Once your deck is clean and free of mold and mildew, it’s important to take additional steps to ensure its longevity. Applying a protective stain or sealant will help protect the wood from UV rays, moisture, and general wear and tear. Before applying any stain or sealant, make sure the deck is completely dry to ensure proper adhesion and penetration.
When choosing a stain or sealant, consider the type of wood your deck is made of and the desired finish. There are various options available, including clear, semi-transparent, and solid color stains. Clear stains allow the natural beauty of the wood to show through, while solid color stains provide a more uniform appearance.
Before applying the stain or sealant, it’s important to prepare the deck surface. Use a deck cleaner or brightener to remove any remaining dirt, grime, or old stain. Follow the manufacturer’s instructions for application and drying times.
Once the deck is clean and dry, apply the stain or sealant using a brush, roller, or sprayer. Start from one end of the deck and work your way towards the other, ensuring even coverage. Pay special attention to the edges and corners of the deck, as these areas are prone to moisture damage.
Allow the stain or sealant to dry according to the manufacturer’s instructions before using the deck. This will ensure that it has fully penetrated the wood and provides maximum protection. Regularly inspect and maintain your deck to ensure its longevity and prevent any further damage.
By following these cleaning and prepping steps, you can revive your deck and enjoy its beauty for years to come.
Choosing the right stain for your deck can make a significant difference in its overall appearance and durability. A well-stained deck not only protects the wood from weather damage but also adds a touch of elegance to your outdoor space. There are different types of deck stains available, each with its unique characteristics. Here are some factors to consider when selecting a stain:
When it comes to deck stains, there is a wide range of options to choose from. Each type of stain offers distinct benefits and features. Let’s take a closer look at some of the most popular types:
Consider the look you want to achieve, the level of protection needed, and the type of wood your deck is made of when choosing a stain. Each type of stain has its own advantages, so take your time to explore your options and find the perfect fit for your deck.
When it comes to deck stains, there are several reputable brands known for their high-quality products. Here are a few options to consider:
Research these brands and read reviews to find the best stain for your deck. Consider factors such as ease of application, longevity, and customer satisfaction when making your decision.
If you’re looking to add a unique touch to your deck, consider creating a two-toned effect. This involves using different stain colors for the deck boards and railings, creating a visually appealing contrast. By combining complementary or contrasting colors, you can achieve a stunning and personalized look for your outdoor space.
Experiment with different color combinations to find the one that suits your style. For example, you can choose a lighter stain for the deck boards and a darker stain for the railings, or vice versa. The possibilities are endless, and the result will be a deck that stands out and reflects your individual taste.
Remember, choosing the right stain is not just about protection; it’s also about enhancing the beauty of your deck. Take the time to explore your options, consider your preferences, and consult with professionals if needed. With the right stain, your deck will become a true centerpiece of your outdoor living area.
When it comes to applying stain to your deck, timing is crucial. The weather conditions can significantly impact the outcome of your staining project. Here are some factors to consider:
Always check the stain manufacturer’s instructions for specific guidelines on application temperatures and weather conditions.
Restoring a deck can be a labor-intensive process, so don’t be afraid to enlist some helpers. Having an extra set of hands will make the job easier and faster. Additionally, you can divide the tasks, allowing each person to focus on a specific aspect of the restoration process. Remember to provide your helpers with the necessary protective gear and clear instructions to ensure everyone’s safety.
Now that everything is prepared, it’s time to apply the stain to your deck. Follow these techniques and tips for a successful staining process:
Always refer to the stain manufacturer’s instructions for specific guidelines on application techniques and drying times.
Once you’ve successfully restored and stained your deck, it’s important to remember that deck maintenance is an ongoing process. To ensure the longevity of your deck’s beauty and protection, it’s recommended to restain your deck every two to three years, or as needed depending on the wear and exposure to the elements. Regularly inspect your deck for signs of damage and perform necessary repairs to prevent further deterioration. By maintaining your deck’s health, you’ll be able to enjoy its beauty and functionality for years to come.
With the ultimate guide to deck restoration at your disposal, you can confidently tackle the process of preparing and staining your outdoor space. By following the steps outlined in this article and using the right tools and techniques, your deck will be transformed into a vibrant and inviting extension of your home. So roll up your sleeves, gather your supplies, and get ready to enjoy your beautifully restored deck!

If you want the Richr team to help you save thousands on your home just book a call.
 Book a call
All information provided is deemed reliable but is not guaranteed and should be independently verified. You should consult your own professionals for financial, legal, or tax advice and conduct your own due diligence. Brokerage services are provided by Richr Homes, FL License # 1060165. Services of Richr's affiliates, Richr Insurance and Richr Title, are optional and can be used in combination or separately.