
Agent A-Team or Solo Superhero? Finding the Right Real Estate Partner for Your Selling Journey in Wildwood Florida
When it comes to selling your home in Wildwood, Florida,…
January 29, 2024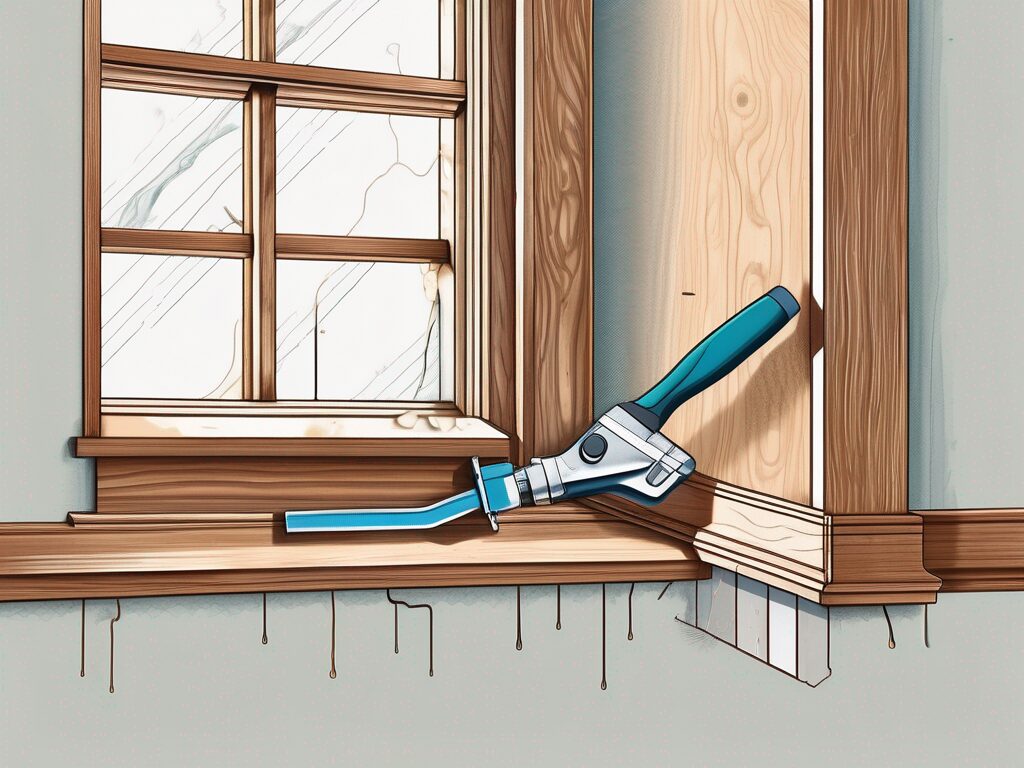
Wood trim is a beautiful and elegant addition to any home. It adds character and detail to doors, windows, and baseboards, making them stand out and enhancing the overall aesthetic appeal. However, over time, wood trim can develop gaps due to changes in temperature, humidity, or simply the natural settling of the house.While small gaps may not be noticeable or cause any significant problems, larger gaps can be unsightly and even affect the functionality of the trim. Fortunately, filling in these gaps is a DIY task that can easily be accomplished with the right tools and techniques. In this ultimate guide, we will walk you through the process step by step, ensuring a seamless and professional-looking finish.
Gaps in wood trim not only mar the appearance of your home but also allow drafts, dust, and pests to enter your living space. Additionally, if left untreated, these gaps can lead to more significant issues, such as moisture damage and structural instability. Therefore, it is crucial to address them promptly to maintain the integrity and beauty of your wood trim.
When it comes to filling in gaps in wood trim, there are several techniques and tools you can use to achieve a seamless and professional-looking finish. In this guide, we will walk you through the process step by step, providing you with all the information you need to successfully fill in those unsightly gaps.
Before you begin filling in gaps, gather the necessary tools to ensure a successful outcome. Here are the essential tools you’ll need:
Having these tools on hand will make the process easier and more efficient.
Before applying caulk, it is essential to prepare it properly to achieve a seamless finish. Start by cutting the tip of the caulk tube at a 45-degree angle using a utility knife. Make sure the hole is the appropriate size for the gap you are filling. If the gap is larger, cut the hole slightly bigger.
After cutting the tip, puncture the inner seal of the caulk tube using a thin wire or a long nail. This will allow the caulk to flow smoothly when you squeeze the trigger of the caulking gun.
The next step is to load the caulk into the caulk gun. Pull the rod back until the plunger is at the end of the tube, then insert the caulk tube into the gun, making sure the punctured hole is facing forward.
Hold the gun at a 45-degree angle to the trim and apply even pressure on the trigger. This will dispense the caulk along the gap in a controlled manner. Move the caulk gun steadily and smoothly along the entire length of the gap, ensuring an even distribution of caulk.
To ensure clean lines and prevent excess caulk from smearing onto the surrounding trim, use painter’s tape as a guide. Apply the tape along the edges of the gap, leaving a small space for the caulk to fill. This will create a barrier that helps in achieving a neater finish.
Once you have completed caulking, carefully remove the painter’s tape while the caulk is still wet. This will prevent any dried caulk from coming off with the tape and creating an uneven look.
If the gap in your wood trim is particularly wide, consider pre-filling it with a filler material before applying caulk. This will help reduce the amount of caulk needed and create a seamless finish. Fillers such as wooden shims or foam backer rods can be inserted into the gap to provide a solid base for the caulk to adhere to.
Once the gap is pre-filled, proceed with the caulking process as instructed earlier, ensuring that the caulk covers the filler material completely and blends seamlessly with the surrounding wood trim.
Now that you’re familiar with the preparation and techniques involved, let’s take a detailed look at the step-by-step process of filling gaps with caulk:
After filling in the gaps, it’s essential to perfect the finish by smoothing the caulk and cleaning up any excess. Use a putty knife, or your finger, to smooth the caulk along the gap and create a seamless blend with the surrounding trim.
To remove excess caulk, dampen a cloth with water and gently wipe away any smears or smudges. This will leave you with a clean and professional-looking finish.
The timeframe for completing the caulking process depends on the number and size of the gaps you need to fill. It’s a relatively quick task that can often be completed in a day, depending on the extent of the work required.
When it comes to caulking, it’s important to take into consideration the size and complexity of the project. If you only have a few small gaps to fill, such as around a window frame or baseboard, the process can be completed in just a few hours. However, if you have a larger area to caulk, like an entire bathroom or kitchen, it may take longer to complete the task.
Before you start caulking, it’s essential to properly prepare the surfaces. This includes removing any old caulk or paint, cleaning the area thoroughly, and ensuring it is dry. Taking the time to prepare the surfaces will ensure a better bond and longer-lasting results.
Once you have prepared the surfaces, you can begin applying the caulk. Depending on the size of the gaps, you may need to use a caulk gun or a squeeze tube. It’s important to apply the caulk evenly and smoothly, filling the gaps completely. Taking your time during this step will help ensure a professional-looking finish.
After you have applied the caulk, it’s essential to allow sufficient drying time before painting or applying any additional finishes. The drying time can vary depending on the type of caulk you used and the environmental conditions. It’s always a good idea to check the caulk manufacturer’s instructions for specific drying times.
During the drying process, it’s important to avoid touching or disturbing the caulk. This can cause it to smudge or lose its shape, resulting in an uneven finish. If you need to use the area where you applied the caulk, be cautious and try to avoid putting any pressure on it until it is fully dry.
Once the caulk is completely dry, you can proceed with painting or applying any additional finishes. This will not only enhance the appearance of the caulk but also provide added protection to the surfaces.
In conclusion, the timeframe for completing the caulking process can vary depending on the size and complexity of the project. It’s important to take the necessary time to properly prepare the surfaces, apply the caulk evenly, and allow sufficient drying time. By following these steps, you can achieve a professional-looking finish and ensure the longevity of your caulking job.
While filling gaps in wood trim is a straightforward task, there are some common mistakes that you should avoid to ensure a professional-looking finish.
One common mistake is rushing through the process. Taking your time and working carefully is essential to achieve an even and clean result. When you rush, you may end up with uneven lines and messy caulk, which can detract from the overall appearance of your wood trim.
Another mistake to avoid is using low-quality caulk. It’s important to invest in high-quality paintable caulk that matches the color of your wood trim. This will ensure a seamless finish that blends in with the surrounding surface. Using cheap caulk can result in an unprofessional look and may not provide the durability and longevity you desire.
Proper caulking technique is also crucial for a professional-looking caulk job. When using a caulking gun, apply consistent pressure on the trigger and move it steadily along the gap. This will help ensure an even distribution of caulk and prevent any gaps or inconsistencies. Additionally, smoothing the caulk with a putty knife or your finger will give it a polished finish, further enhancing the overall appearance.
Lastly, it’s important to follow the manufacturer’s instructions for drying and curing times. Rushing to paint or touch the caulk before it has fully dried can lead to smudging and a less-than-perfect finish. Patience is key when it comes to achieving a professional result.
Here are some additional tips to help you achieve a seamless and professional-looking caulk job:
By following these tips and incorporating them into your caulking process, you can achieve a seamless and professional-looking caulk job that will enhance the appearance and functionality of your wood trim.
Now that you have learned the essential techniques and tips for filling large gaps in wood trim, you are well-equipped to tackle this DIY project with confidence. With the right tools, careful attention to detail, and the knowledge to avoid common mistakes, you can achieve a seamless and professional finish that will enhance the beauty and longevity of your wood trim for years to come.

If you want the Richr team to help you save thousands on your home just book a call.
 Book a call
All information provided is deemed reliable but is not guaranteed and should be independently verified. You should consult your own professionals for financial, legal, or tax advice and conduct your own due diligence. Brokerage services are provided by Richr Homes, FL License # 1060165. Services of Richr's affiliates, Richr Insurance and Richr Title, are optional and can be used in combination or separately.