
Agent A-Team or Solo Superhero? Finding the Right Real Estate Partner for Your Selling Journey in Wildwood Florida
When it comes to selling your home in Wildwood, Florida,…
January 29, 2024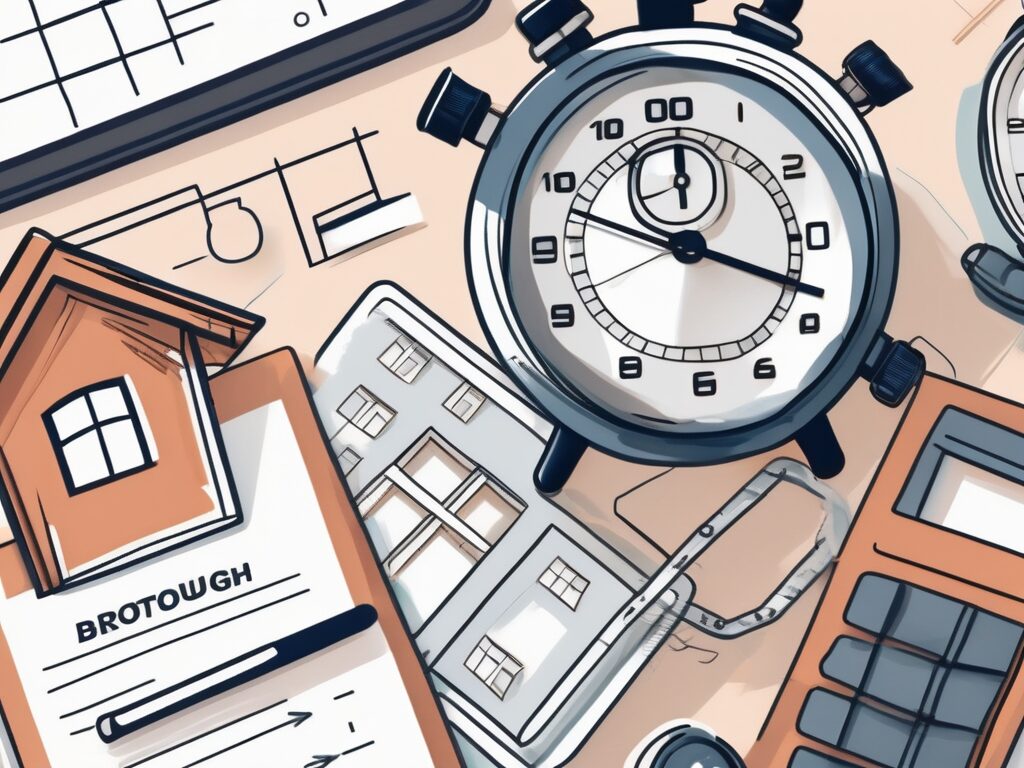
Congratulations on reaching the exciting final stage of purchasing a new home! The final walkthrough is a crucial step that allows you to inspect the property and ensure everything is in order before closing the deal. Timing is key during this process, as it can greatly impact your overall satisfaction with the purchase. In this ultimate guide, we will share expert tips to help you optimize your final walkthrough timing for a smooth and successful experience.
Before diving into the specifics, let’s first explore the best time to schedule your final walkthrough. Ideally, you should plan it as close to the closing date as possible, preferably within 24-48 hours. This timeframe ensures that any issues discovered during the walkthrough can be addressed before the closing, minimizing delays and potential complications.
Now, let’s delve deeper into why scheduling your final walkthrough at the right time is crucial. By conducting the walkthrough within 24-48 hours of the closing, you allow yourself enough time to thoroughly inspect the property and identify any issues that may have arisen since your last visit. This is particularly important if there have been any repairs or renovations done on the property, as you want to ensure that everything is in order before you take ownership.
When choosing the ideal time for your final walkthrough, consider scheduling it during daylight hours. Natural light will allow you to inspect various aspects of the property more effectively, such as windows, doors, and exterior features. This is especially important if you want to get a clear view of the condition of these elements and ensure that they are functioning properly.
Furthermore, selecting a time when the sellers are present can be advantageous as they can provide valuable insights and answer any questions you may have. Their presence can also allow you to gain a better understanding of the property’s history, any maintenance or repairs that have been done, and any potential issues that may need to be addressed in the future.
It’s worth noting that scheduling the final walkthrough during daylight hours and with the sellers present may not always be possible due to various factors such as work schedules and availability. In such cases, it’s important to communicate with the sellers and find a mutually convenient time that still allows for a thorough inspection of the property.
In conclusion, optimizing the timing of your final walkthrough is crucial to ensure a smooth and successful closing process. By scheduling it as close to the closing date as possible, preferably within 24-48 hours, and considering factors such as daylight hours and the sellers’ presence, you can maximize the effectiveness of your inspection and address any potential issues before finalizing the purchase of your new property.
Cabinets and appliances are often among the most used features of a home. Therefore, it is essential to dedicate proper attention to inspecting them during your final walkthrough. Here are some tips to ensure a thorough inspection:
When inspecting the cabinets, take note of any visible wear and tear. Look for scratches, dents, or chips in the wood or laminate surfaces. Pay attention to the hinges and handles, ensuring they are securely attached and functioning properly. If you notice any misalignment or difficulty in opening or closing the doors and drawers, it may indicate underlying issues that need to be addressed.
For appliances, start by testing the stove and oven. Turn on the burners and make sure they ignite and heat up evenly. Check the oven’s temperature accuracy by using an oven thermometer. If the refrigerator is included in the sale, inspect its interior and exterior for cleanliness and any signs of damage. Pay close attention to the seals on the doors, as they play a crucial role in maintaining the appliance’s efficiency. A damaged or worn-out seal can lead to energy loss and increased electricity consumption.
When inspecting the dishwasher, run a cycle to ensure it fills with water, properly cleans the dishes, and drains without any issues. Check for any leaks underneath or around the appliance. Test the microwave by heating a cup of water for a short period to ensure it functions correctly. Additionally, inspect the venting system to ensure it is clear of any obstructions.
Running the water in the kitchen and bathroom sinks will help you identify any plumbing problems. Check for leaks under the sinks and ensure the water drains properly. Test the water pressure in both hot and cold settings to ensure it meets your expectations. In the shower, pay attention to the water temperature and pressure, as well as any signs of leakage.
By thoroughly inspecting the cabinets and appliances, you can identify any potential issues before finalizing the purchase of the home. Taking the time to assess their condition will give you peace of mind and help you plan for any necessary repairs or replacements.
One minor yet often overlooked aspect of the final walkthrough is organizing the remote controls for electronic devices, such as TVs, sound systems, and air conditioning units. To optimize your walkthrough experience, consider implementing the following:
First, gather and arrange all remote controls in a central location. This can be a designated tray or a specific drawer that is easily accessible to occupants. By doing so, you promote convenience and prevent losing track of essential remotes, saving you time and frustration in the long run.
Imagine coming home after a long day at work, looking forward to relaxing in front of your favorite TV show. You walk into the living room, only to find that the remote control is nowhere to be found. You search high and low, checking under cushions, between the sofa cracks, and even in the kitchen drawers. Finally, after what feels like an eternity, you locate the remote control buried under a pile of magazines on the coffee table. Frustrated and exhausted, you wonder why you didn’t take the time to organize your remotes in the first place.
By having a designated spot for all your remote controls, you can avoid this scenario altogether. No more frantic searches or wasted time. With a central location for your remotes, you can easily grab the one you need and get back to enjoying your entertainment system.
Furthermore, organizing your remote controls can also enhance the overall aesthetic of your living space. Instead of having remotes scattered all over the place, creating a cluttered and disorganized look, you can have a neat and tidy setup. A designated tray or drawer not only provides easy access but also adds a touch of elegance to your home.
But what about those times when you have guests over? You don’t want them to struggle with finding the right remote control either. By organizing your remotes, you can ensure that your guests can effortlessly navigate your entertainment system without having to ask for help. It’s a small detail that can make a big difference in the overall experience of your visitors.
So, whether you’re a tech-savvy individual with a multitude of gadgets or someone who simply wants to streamline their home, taking the time to organize your remote controls is a small investment that yields significant returns. Not only will it save you time and frustration, but it will also enhance the aesthetic appeal of your living space and make it more user-friendly for both you and your guests.
The HVAC system plays a vital role in maintaining a comfortable environment in your new home. It is crucial to inspect and confirm its functionality during the final walkthrough. Here’s why:
Running a thorough check on the HVAC system ensures that it is in proper working order before you move in. This includes testing the heating and cooling functions, as well as verifying that the thermostat is functioning correctly. By addressing any potential HVAC issues proactively, you avoid unexpected expenses and maintain a comfortable living space.
During the walkthrough, it is important to pay attention to the HVAC system for several reasons. Firstly, a malfunctioning HVAC system can lead to uncomfortable living conditions. Imagine moving into your new home, only to find out that the air conditioning is not working properly during the scorching summer months. It can be a nightmare, especially if you have young children or elderly family members.
Furthermore, a faulty HVAC system can result in higher energy bills. If the system is not functioning efficiently, it may consume more energy than necessary to cool or heat your home. This can significantly impact your monthly expenses and put a strain on your budget. By checking the HVAC system during the walkthrough, you can ensure that it is operating optimally, saving you money in the long run.
In addition to the financial aspect, a malfunctioning HVAC system can also affect your health. Poorly maintained or dirty filters can lead to poor indoor air quality, which can trigger allergies or respiratory issues. By inspecting the HVAC system before moving in, you can identify any potential problems and take the necessary steps to address them, ensuring a healthy living environment for you and your family.
Another reason to check the HVAC system during the walkthrough is to avoid any unexpected repair costs. If you discover any issues with the system after moving in, you may be faced with costly repairs or even the need to replace the entire system. By taking the time to thoroughly inspect the HVAC system before finalizing the purchase of your new home, you can negotiate any necessary repairs or replacements with the seller, potentially saving you a significant amount of money.
Lastly, ensuring that the thermostat is functioning correctly is essential for maintaining a comfortable temperature in your home. A malfunctioning thermostat can lead to inconsistent heating or cooling, making it difficult to achieve the desired comfort level. By testing the thermostat during the walkthrough, you can identify any issues and have them resolved before moving in, ensuring a pleasant and comfortable living space.
During your final walkthrough, it’s essential to take note of any areas that require attention or improvements. To make this process more efficient and effective, consider using visual markers:
Carry a small pack of colorful sticky notes or a tablet and a stylus to mark areas of concern. This allows you to provide clear and easily understandable feedback to the sellers or contractors after the walkthrough. By visually highlighting specific concerns, you facilitate effective communication and ensure that necessary repairs or adjustments are carried out promptly.
When using sticky notes, choose colors that stand out and are easily noticeable. For example, you can use bright yellow for urgent repairs, orange for areas that need attention but are not urgent, and green for minor adjustments. This color-coding system helps prioritize the issues and ensures that everyone involved understands the severity of each concern.
As you walk through the property, take your time to thoroughly inspect each room and area. When you come across a problem or an area that needs improvement, attach a sticky note to the wall, floor, or any other surface that requires attention. Make sure to write a brief description on the sticky note, clearly explaining the issue.
Using a tablet and stylus can offer additional advantages. With a tablet, you can take pictures of the areas that need attention and directly mark them using a drawing or annotation tool. This visual representation can be incredibly helpful when discussing the concerns with the sellers or contractors later on. It provides a clear visual reference, making it easier for everyone to understand the problem and come up with appropriate solutions.
Remember to document all the concerns you find during the walkthrough. Take notes and pictures of each flagged area, along with any additional details that may be relevant. This documentation will serve as a reference for future discussions and ensure that nothing is overlooked or forgotten.
Once the walkthrough is complete, gather all the sticky notes or digital annotations and organize them in a way that is easy to understand. You can group them by room or by the type of issue. This organization will help you present the concerns to the sellers or contractors in a structured manner, making it easier for them to address each problem individually.
By using visual markers during the walkthrough, you enhance the clarity and effectiveness of your communication. The sellers or contractors will appreciate the clear feedback, and you can be confident that the necessary repairs or adjustments will be made promptly. So, don’t forget to stock up on sticky notes or bring your tablet and stylus to your next final walkthrough!
To optimize your final walkthrough experience, consider requesting a handy cheat sheet from your realtor or seller. This cheat sheet should include essential details about the property, such as location of utility shut-offs, emergency contact numbers, and other relevant information. Having this information readily available at hand saves time and helps you become familiar with your new home more quickly.
Are you planning to make some changes or renovations in your new home after the purchase? Consider bringing physical photos or printouts of your design ideas and inspirations during the final walkthrough. This enables you to compare the property’s existing features with your vision, ensuring that it aligns with your expectations.
While you can conduct a thorough walkthrough on your own, there may be situations where it is beneficial to bring in a specialist for expert evaluation:
If the property has specific intricate systems or features, such as a swimming pool, solar panels, or smart home technology, it is advisable to have a specialist accompany you during the final walkthrough. Their expertise can help identify potential issues that might not be apparent to a standard homebuyer.
Electrical functionality is an essential aspect of any home. To ensure that all outlets are in proper working order, consider testing them during the final walkthrough:
Bring your phone charger or a nightlight and test different outlets throughout the property. This will help identify any faulty outlets or wiring issues that need to be addressed before moving in. By thoroughly inspecting the electrical system, you prevent unexpected electrical problems and enhance the overall safety of your new home.
Lastly, make sure to confirm power availability in advance. You don’t want to be caught off guard with no electricity during your final walkthrough. Take the following steps to avoid any unwelcome surprises:
Contact the utilities company or your real estate agent a day or two before the scheduled final walkthrough to confirm that the power will be turned on during your visit. This ensures you can test the functionality of various electrical appliances, lights, and systems in real-time, allowing for a comprehensive assessment.
Now armed with this ultimate guide to optimizing your final walkthrough timing, you can approach this critical step in your homebuying journey with confidence and meticulous attention to detail. Following these expert tips will help you make an informed decision and ensure that your new home meets your expectations. Happy walkthrough!

If you want the Richr team to help you save thousands on your home just book a call.
 Book a call
All information provided is deemed reliable but is not guaranteed and should be independently verified. You should consult your own professionals for financial, legal, or tax advice and conduct your own due diligence. Brokerage services are provided by Richr Homes, FL License # 1060165. Services of Richr's affiliates, Richr Insurance and Richr Title, are optional and can be used in combination or separately.