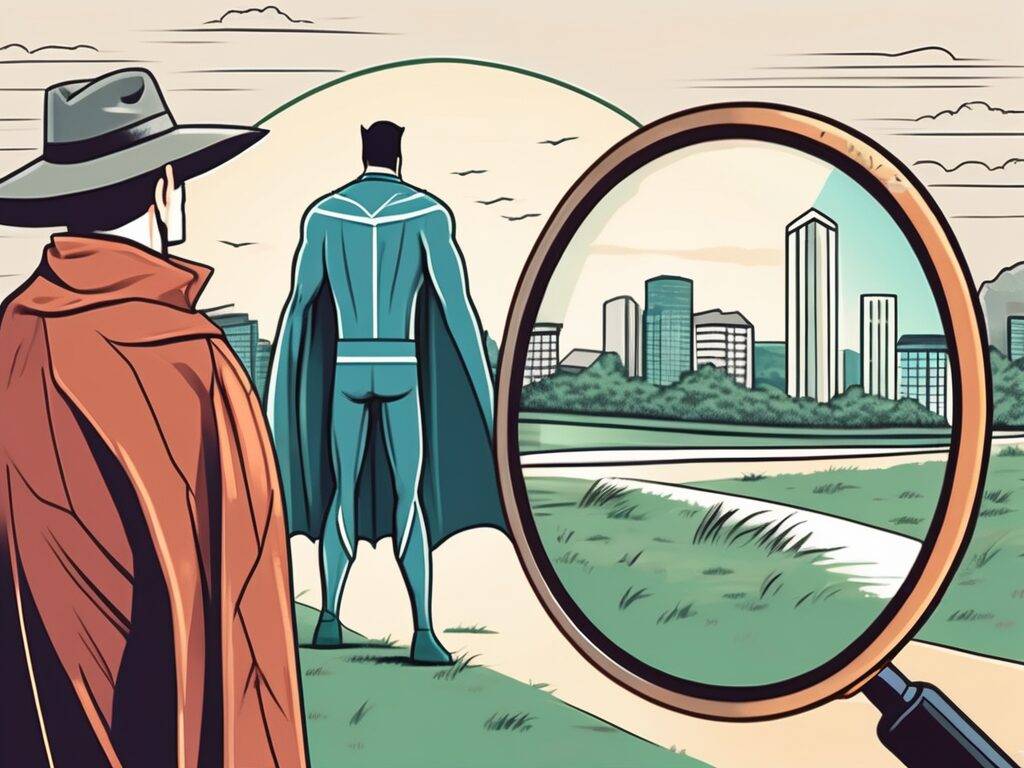
Agent A-Team or Solo Superhero? Finding the Right Real Estate Partner for Your Selling Journey in Wildwood Florida
When it comes to selling your home in Wildwood, Florida,…
January 29, 2024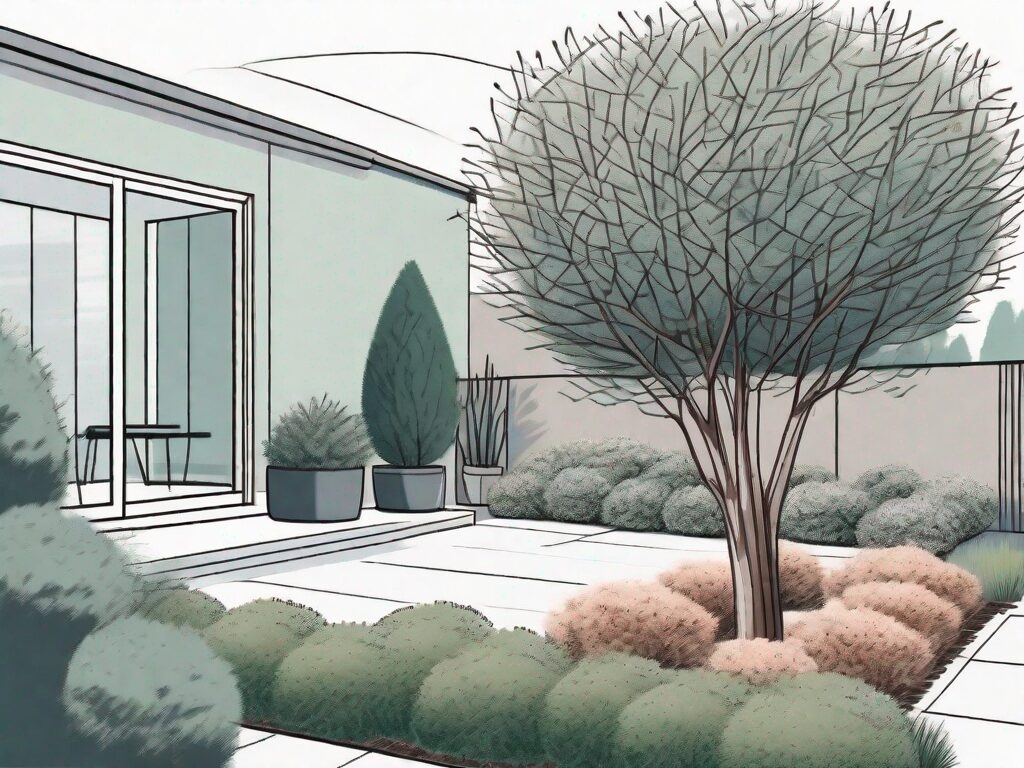
Maintaining a beautiful outdoor space doesn’t have to break the bank. With expert pruning tips, you can transform your trees and shrubs into stunning focal points that enhance the overall aesthetic of your home. In this article, we’ll explore the dos and don’ts of tree pruning, as well as how to properly trim your shrubs for optimal growth. Whether you have a green thumb or are just starting out in gardening, these budget-friendly techniques will help you achieve a lush and vibrant landscape that will be the envy of the neighborhood.
Pruning your trees is essential for their overall health and appearance. However, it’s important to follow a few guidelines to ensure you do it correctly.
Firstly, make sure to prune during the tree’s dormant season, typically in late winter or early spring. This allows the tree to heal properly without risking disease or pest infestation.
During the dormant season, the tree’s energy is focused on root development rather than foliage growth. Pruning during this time helps redirect the tree’s resources towards strengthening its root system, resulting in a healthier and more resilient tree.
Secondly, when pruning, avoid removing more than 25% of the tree’s foliage in a single year. Over-pruning can weaken the tree and hinder its ability to photosynthesize effectively.
By limiting the amount of foliage removed, the tree can maintain a balanced canopy that provides shade, reduces water loss through evaporation, and supports a diverse ecosystem of birds and insects.
Furthermore, it’s crucial to use the right tools for the job. Sharp and clean pruning shears or saws will make clean cuts and minimize the risk of disease transmission. Remember to disinfect your tools between trees to prevent the spread of any potential infections.
Using dull or dirty tools can result in jagged cuts that take longer to heal, leaving the tree vulnerable to diseases and pests. Properly maintained tools not only ensure the tree’s health but also make the pruning process easier and more efficient.
Lastly, consider the tree’s natural shape and growth habit when pruning. Removing branches that disrupt the overall structure of the tree can lead to a more aesthetically pleasing and balanced appearance.
Understanding the tree’s growth pattern and natural form allows you to selectively prune branches that are crossing, rubbing, or growing in an undesirable direction. This promotes a healthier growth pattern and enhances the tree’s visual appeal.
Trimming shrubs is an art that, when done correctly, can result in healthier and more robust plants. Follow these steps to trim your shrubs for optimal growth:
Dead or diseased branches can serve as entry points for pests and diseases, compromising the overall health of the shrub. Removing these branches allows the shrub to allocate its resources towards healthy growth and prevents the spread of potential problems.
Thinning out the inner branches of the shrub promotes better air circulation and light penetration, reducing the risk of fungal diseases and improving overall plant health. This also stimulates the growth of new branches and foliage, resulting in a fuller and more vibrant shrub.
Regular shaping of the shrub helps maintain its desired size and form, preventing it from outgrowing its designated space. By selectively trimming branches that are growing in an undesirable manner or have become too long, you can achieve a well-maintained and visually appealing shrub.
After pruning, the shrub may experience some stress as it redirects its resources towards healing and new growth. Providing adequate water helps the shrub recover faster and encourages the development of new foliage and branches.
By following these pruning tips for both trees and shrubs, you can achieve healthy, beautiful, and cost-effective outdoor spaces. Now, let’s delve into the world of lawn care and discover essential practices and troubleshooting tips for a green and vibrant lawn.
A well-maintained lawn can be a source of pride for any homeowner. To achieve a lush and vibrant lawn, it’s important to follow these essential lawn care practices:
By implementing these lawn care practices, you can achieve a lush and healthy lawn that invites relaxation and outdoor activities. However, even with proper care, common lawn issues may arise. Let’s explore some troubleshooting tips to maintain the health and beauty of your outdoor space.
Despite your best efforts, you may encounter common lawn issues such as bare patches, weeds, brown spots, or pest infestations. Here are some solutions to troubleshoot these problems:
Now that we have covered the essentials of tree pruning, shrub trimming, and lawn care, let’s shift our focus towards another aspect of outdoor spaces: creative paver designs. With their versatility and durability, pavers can completely transform your hardscapes into inviting and visually appealing areas.
When it comes to paver designs, the possibilities are endless. You can create intricate patterns, such as herringbone or basket weave, to add visual interest to your outdoor space. Alternatively, you can opt for a more minimalist approach with a simple grid or linear design. The choice is yours!
In addition to their aesthetic appeal, pavers offer practical benefits as well. They provide a stable and level surface, making them perfect for outdoor dining areas or pathways. Pavers are also resistant to cracking and can withstand heavy foot traffic, making them a durable choice for high-traffic areas.
When selecting pavers for your outdoor space, consider the material that best suits your needs. Concrete pavers are a popular choice due to their affordability and versatility. They come in a variety of colors and finishes, allowing you to customize the look of your hardscape. If you prefer a more natural look, consider using stone pavers, such as flagstone or bluestone. These pavers add a rustic charm to any outdoor space.
Proper installation is key to ensuring the longevity and stability of your paver design. It is important to prepare the base properly, ensuring it is level and compacted. This will prevent shifting and settling over time. Additionally, using a polymeric sand between the pavers can help lock them in place and prevent weed growth.
Once your paver design is complete, don’t forget to maintain it regularly. Sweep away debris and remove any weeds that may sprout between the pavers. If necessary, you can also use a pressure washer to remove dirt and stains.
With a well-designed paver area, you can create a beautiful and functional outdoor space that enhances the overall appeal of your home. Whether you’re looking to create a cozy patio or a grand walkway, pavers offer endless possibilities for transforming your outdoor living area.
When it comes to enhancing the overall aesthetic of your outdoor space, pavers are a versatile and stylish choice. Not only do they add a touch of elegance, but they also provide functionality and durability. Let’s explore some creative paver placement ideas that will truly transform your hardscapes.
Pavers can be used in countless ways to elevate the visual appeal of your outdoor space. Here are some creative paver placement ideas to inspire you:
These are just a few ideas to get your creative juices flowing. The possibilities with paver placement are truly endless. Now that you have some inspiration, let’s dive into a step-by-step guide for beginners on how to install pavers yourself.
Installing pavers may seem like a daunting task, but fear not! With the right tools, proper guidance, and a little bit of patience, it can be a rewarding DIY project. Follow these steps to successfully install pavers:
By following this step-by-step guide, you can successfully install pavers and elevate the visual appeal of your outdoor space without breaking the bank. So, roll up your sleeves, gather your tools, and get ready to embark on a rewarding paver installation journey!
Your home’s exterior appearance plays a crucial role in creating a positive first impression. Here are some budget-friendly ways to enhance your home’s curb appeal:
With these simple and affordable DIY projects, you can significantly improve your home’s curb appeal and create a welcoming ambiance that reflects your personal taste and style.
As we enter a new year, it’s an opportune time to set home improvement goals that prioritize sustainability and eco-friendliness. Consider the following New Year’s resolutions:
By actively pursuing these resolutions, you can contribute to a happier and healthier planet while enjoying the benefits of a more sustainable home.
Creating a healthy and safe home environment is essential for the well-being of you and your loved ones. Consider the following tips for a healthier home in 2024:
By incorporating these tips into your home improvement goals for 2024, you can create a space that promotes both physical and mental well-being.
If you’re looking to maximize your home’s resale value, strategic renovations can make a significant difference. Consider these top renovations that tend to pay off:
By focusing on these renovations, you can attract potential buyers and increase your home’s market value, ultimately enjoying a higher return on your investment.
Transforming your outdoor space doesn’t have to be a costly endeavor. With expert pruning tips and thoughtful approaches to lawn care, paver designs, curb appeal, home improvement goals, and maximizing home value, you can achieve stunning results on a budget. Implement these ideas and techniques, and watch as your outdoor space becomes a captivating oasis that brings joy and relaxation to your everyday life.

If you want the Richr team to help you save thousands on your home just book a call.
 Book a call
All information provided is deemed reliable but is not guaranteed and should be independently verified. You should consult your own professionals for financial, legal, or tax advice and conduct your own due diligence. Brokerage services are provided by Richr Homes, FL License # 1060165. Services of Richr's affiliates, Richr Insurance and Richr Title, are optional and can be used in combination or separately.