

From Fees to Freedom: Richr’s Game-Changing Wealth Strategy in Real Estate, by Jason Rubin, and Glenn Orgin
Have you ever thought about why it costs 6% to…
January 9, 2024
Table of Contents:
Making intelligent choices about the texture you add to your home’s walls is essential so that they add style and resale value when you decide to move. So research what might look best in your home, find the right tools, and enjoy enlivening your home!
We provide you a free home valuation and a breakdown of your closing costs to show you how much you will save and the amount of cash you will receive at closing
Or Call Us +1844-957-4247
Texturing walls can add dimension to any space and room. Most design trends focus on flat walls with color, but texture can also add a unique look. Texturing walls also helps hide flaws in the wall façade. Additionally, texturing may sound complicated, but in most cases, the effect can be done as a DIY project.
Here are seven popular wall texture types and techniques.
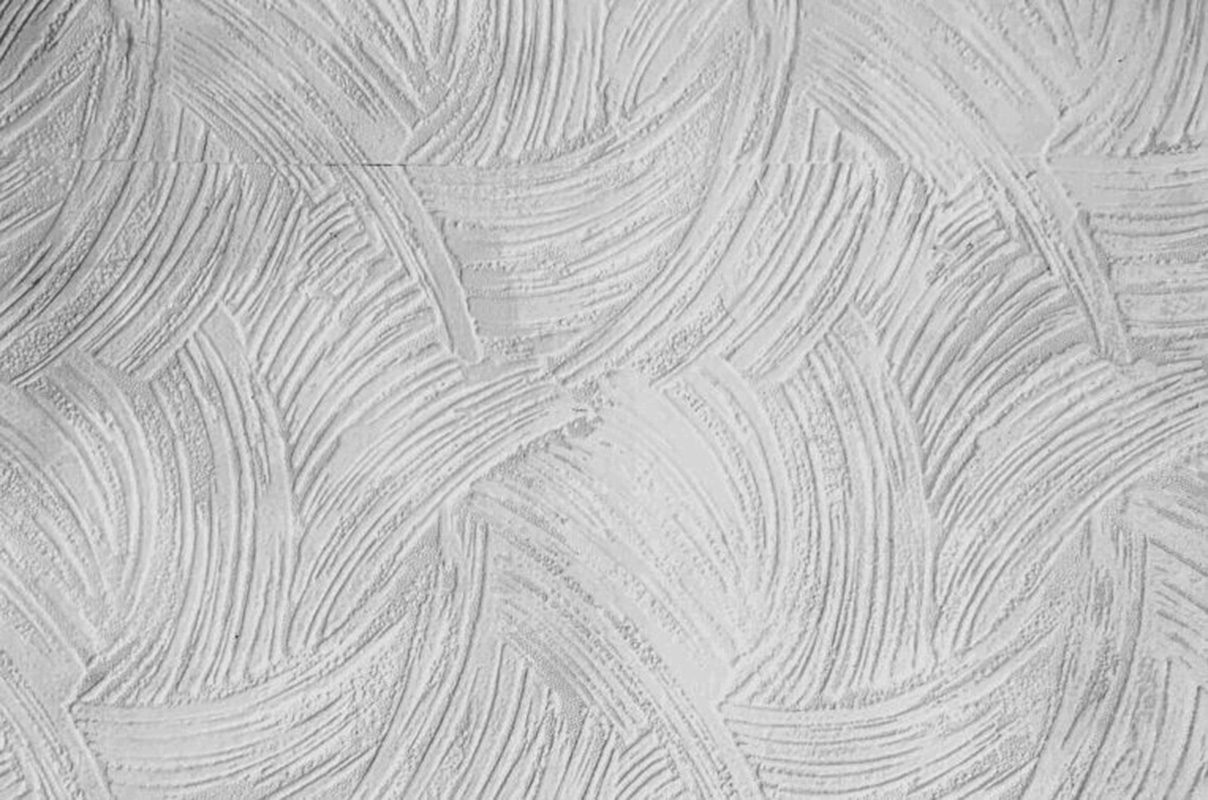
Comb texture creates a repeated series of patterns with lines and shapes imprinted into the drywall. It may sound complex, but it is a simple technique. The materials required to create the textured comb wall include a drywall compound, a roller, and a drywall trowel with evenly spaced teeth. Once the drywall compound is applied to the wall, the trowel is used to draw lines in the drywall. The texture needs to dry for 24 hours before priming to paint the wall.
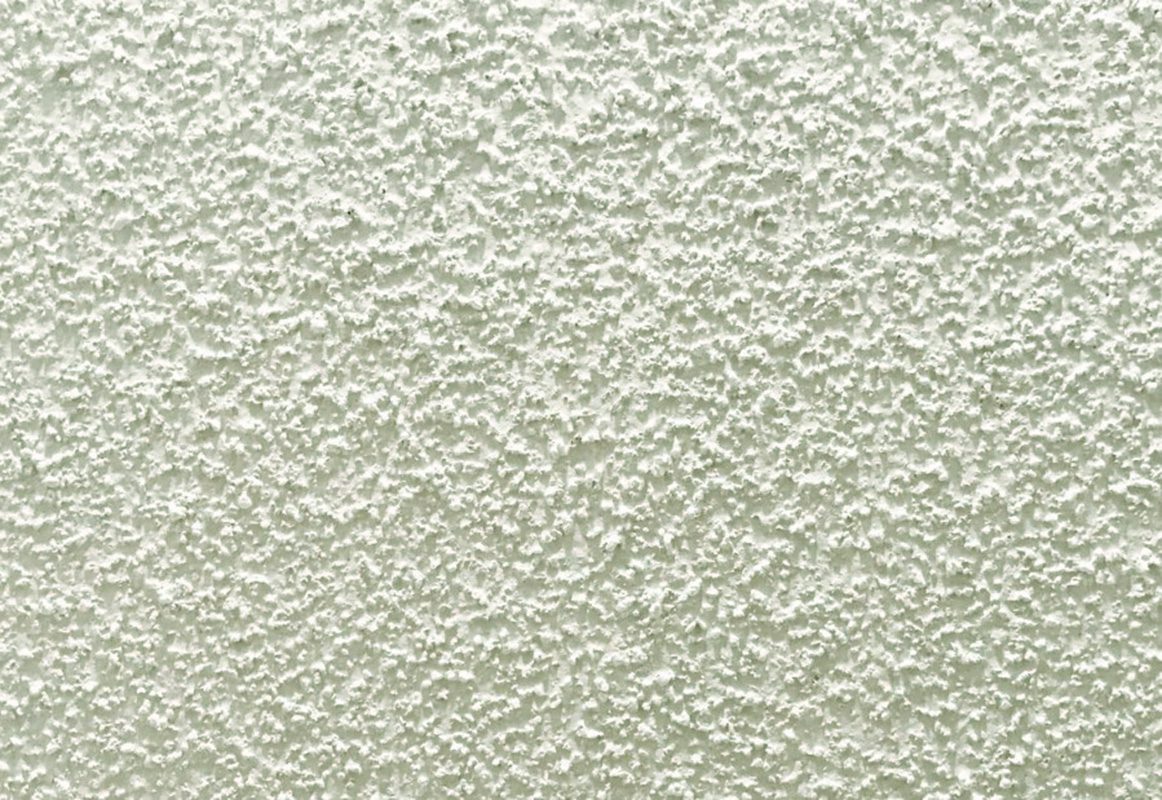
Popcorn ceilings gained popularity in the 1970s and are still found in many homes. The technique hides imperfections and absorbs sounds between walls and ceilings. The materials needed to create a popcorn wall texture include an air compressor and a hopper gun. First, you purchase the popcorn texture made with a mix of drywall mud and polystyrene. When you mix the popcorn texture with water, you are ready to apply the material to the wall or ceiling of your choosing. The spray will go in several directions, so ensure to cover furniture, so it is not sprayed with the texture. The texture can be painted any color once it dries.
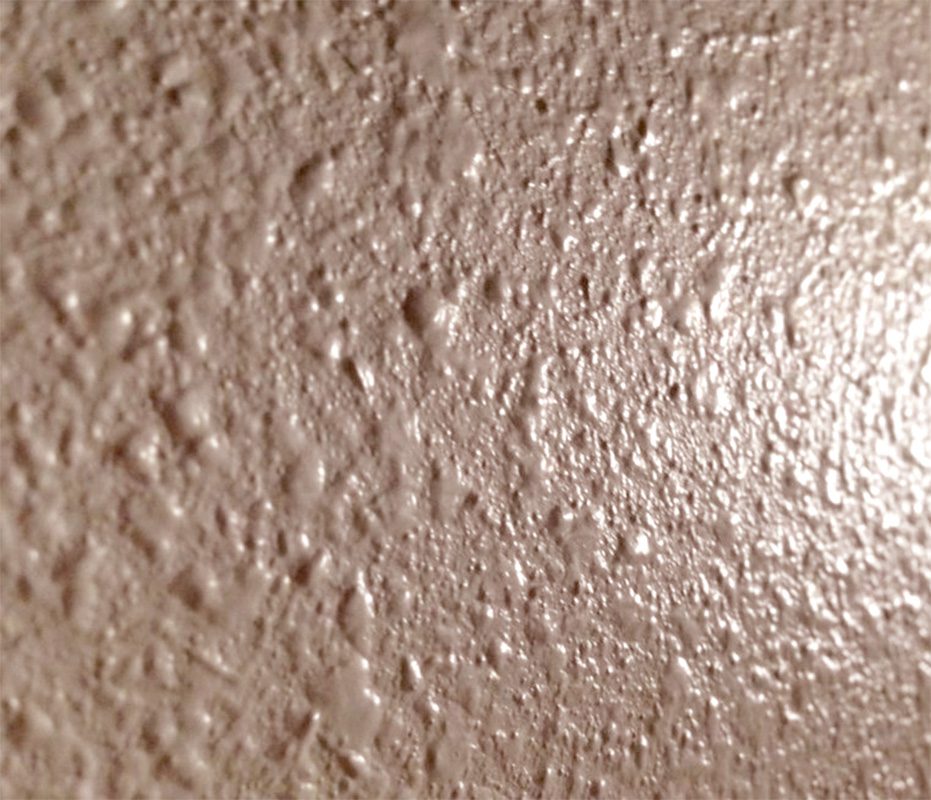
The Orange Peel texturing technique mimics the look of the outside of an orange. To achieve this look, you’ll need to prime the walls before adding the texture for a smooth and clean starting surface. The supplies needed include a hopper gun with an adjustable air valve, an air compressor, and a drywall compound. You will want to mix the drywall compound with water and adjust the air valve as you spray to see what the texture looks like on the wall. There should be small amounts of spray that come from the air valve. You can adjust the valve for a heavier or lighter orange peel wall texture. Finally, prime and paint the walls after the surface is dry.
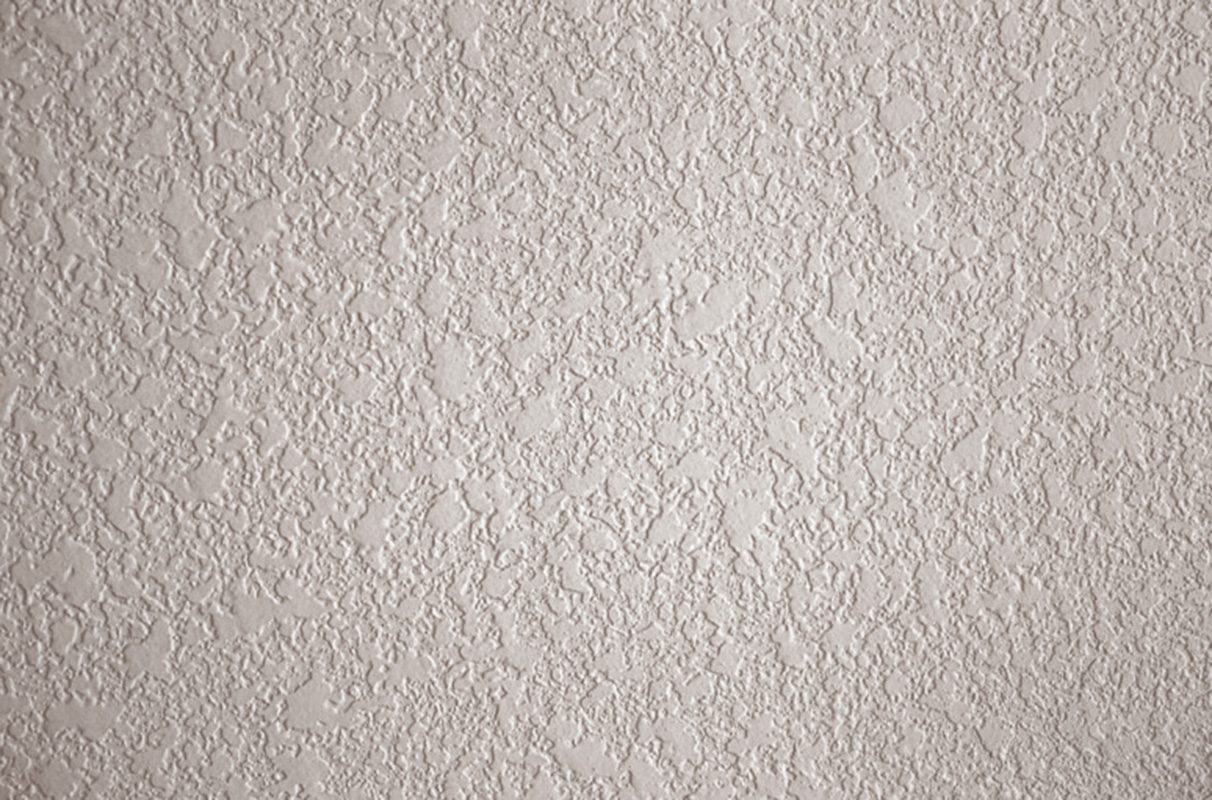
Knockdown textured wall patterns look rustic and similar to stucco. The technique is very similar to the orange peel technique, but you go one step further. Once you apply the orange peel wall texture, you flatten the texture using a knockdown knife. This levels out the peaks and valleys of the textured wall to give it a more rustic look. Ensure you wait about 20 minutes before using the knife to flatten the wall texture to ensure the blade lines do not leave an impression on the wall. Let the wall dry overnight, and then you can prime and paint the wall.
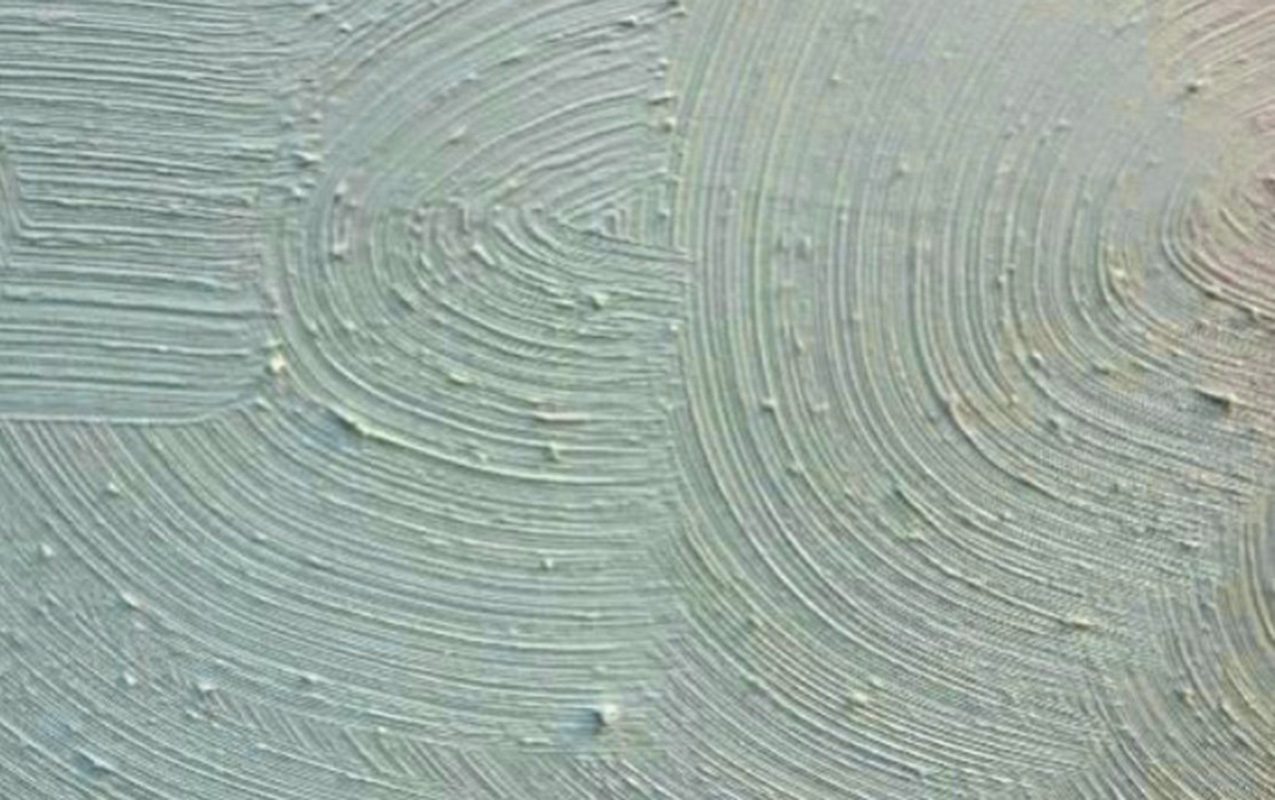
The Sand Swirl wall texturing technique is more subtle than the other wall texturing methods. The material used is perlite instead of a drywall compound. Perlite is a combination of primer and sand. The swirls of sand provide a subtle texture that is not too loud as a design element in a room. A paintbrush and perlite are all you need to create a textured wall. Start at the top of the wall with the paintbrush and make a loop with an opening at the bottom. Then, working in five-foot sections to cover the entirety of the wall, make sure to dip into the paint for every swirl for an even effect. Once the perlite has dried for 24 hours, you can prime and paint the walls.
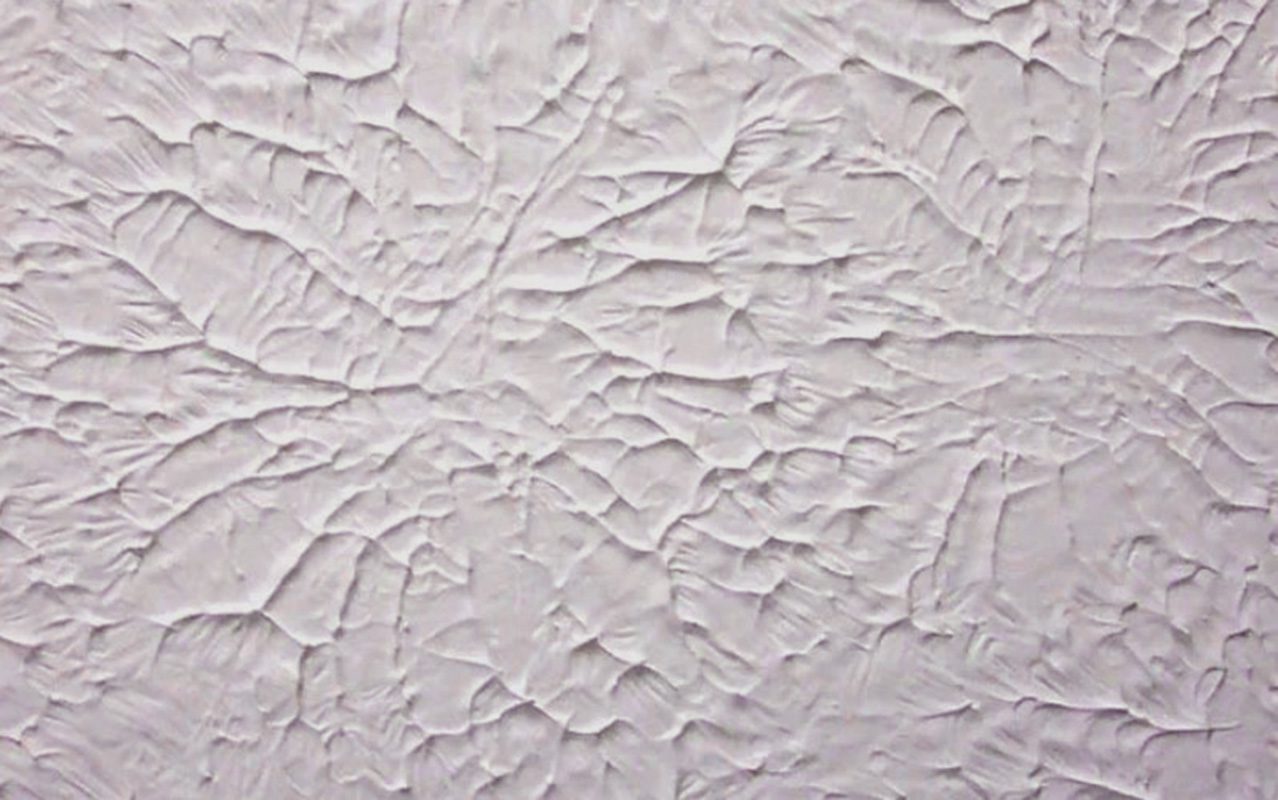
The Slap Brush wall texturing method creates a more erratic and eccentric look to walls. The technique does not require a spray gun but a roller, a double crow’s foot drywall texture brush/slap brush, and a drywall compound. First, mix the drywall compound with water and apply it evenly to the wall with the roller. From there, cover the brush in a small amount of the drywall compound and slap the sections with the brush. The slapping should be random to create a specific pattern. Once the wall is completed with the slapping texture, wait 24 hours and then prime and paint the room.
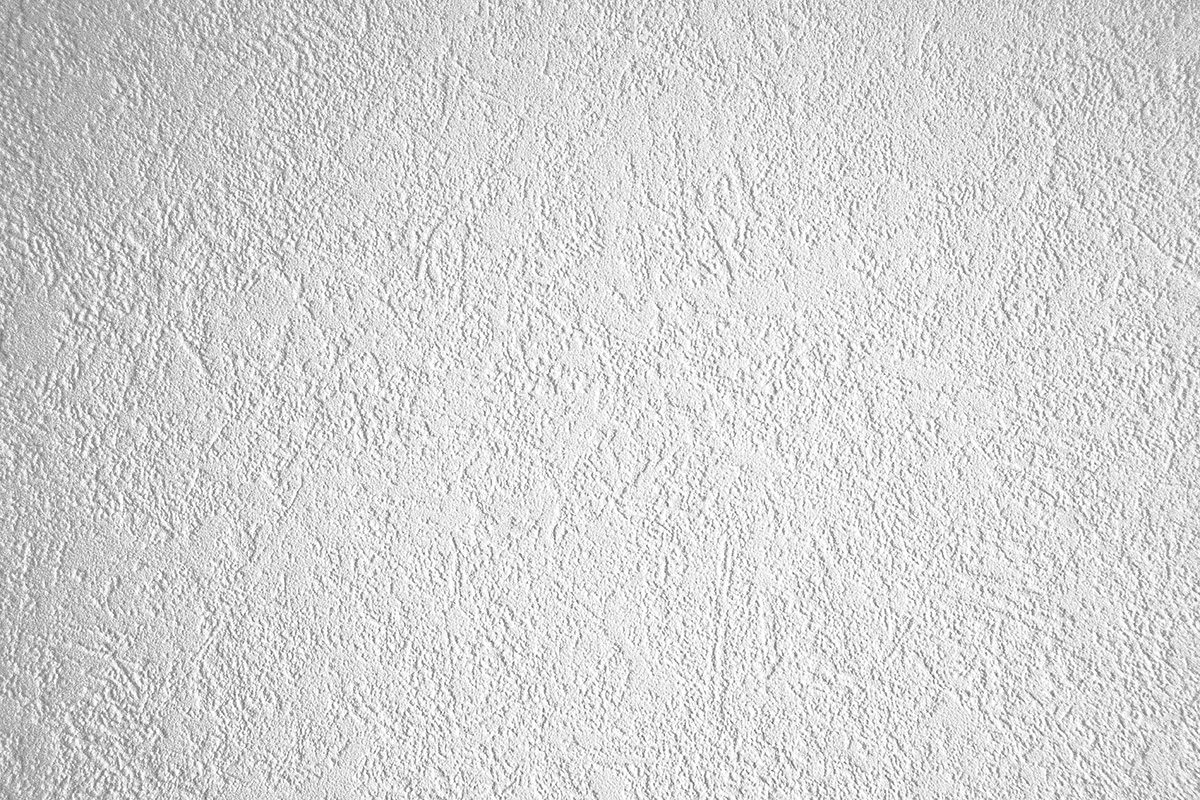
Slap Brush Knockdown wall texturing uses a slap brush but with a different technique. Instead of random flat and wide lines, the method creates thin lines with peaks. The materials required for this technique include a roller, slap brush, knockdown knife, and drywall compound. After you apply the slap brush, wait about 15 minutes, then go over the wall with the knockdown knife. Once the peaks are flattened to your desired level, wait about 24 hours, then prime and paint the walls.
With numerous techniques for texturing your walls, there are several options to upgrade the design of your walls. Wall texture also helps hide imperfections. Here is how you go about texturing your walls.
Creating a stucco wall finish is one easy and modern wall texturing practice. First, you will want to purchase drywall mud from any home improvement store. From there, do the following:
A notched trowel is also a good option for applying texture if you choose not to use a sponge. Once you start applying, make a pattern of lines on the wall in one direction, then go in the opposite direction to make a cross stitch pattern.
Using rags and tissue paper, you can also put joint compounds on your walls. The joint compound is forgiving, so it may be easier to work with and allow for more experimentation in which wall texturing method you choose. Remember to dry the wall before you paint. Don’t rush it. You may need to wait up to 24 hours.
Textured paints are like drywall mud, but they are harder to remove, so you do not have much room for error when applying them. The paint dries quickly, and you won’t have time to make corrections before applying the second coat of textured color. The uneven drying can cause rigid lines in the texture, which is not appealing. You will need a minimum of two coats on the wall, one for the base coat and another for the final layer. Textured paint also only comes in a limited number of colors.
If you add texture to several walls and rooms, you may want to invest in a sprayer. The air pressure is compressed, and you can cover space more quickly than traditional methods. The sprayer’s pattern can vary widely based on the compound used, the type of nozzle, and the amount of air pushed out with the mud. However, be aware that the texture will spray everywhere, so make sure furniture and other home areas surrounding the walls are well covered. Also, work to spread randomly so the technique does not look too repetitive. This will give the pattern more dimension and create a more professional finish.
It’s time to buy smarter. Richr gives you cash back helping you buy the home of your dreams.
Call us now on 1-844-957-4247 or Start Searching Your Home Now!
Popcorn ceilings, also known as “popcorn” ceilings, are the most common type of texture. Not always considered the most attractive texture, it has been used for many years. They are also the most cost-effective measure and do not always require painting.
Walls today are flat, designed to blend into a space rather than stand out. However, many are unaware of what a drywall texture can add to an area. Whether you want an accent wall or a way to cover an architectural error, wall textures are the way to go inside your home. Here are the most popular wall textures for 2022.
With the right tools and approach, you can add almost any type of texture to your walls and ceilings. Some wall texture techniques are more complicated than others, so be sure to know what you are getting into. Here are some tips for texturing your ceiling.
Texturing walls and ceilings usually starts with drywall mud, paint, and various tools. For example, popcorn ceilings require mixtures of drywall with multiple levels of coarseness, and other textured ceiling techniques may need a skip trowel or spray gun. Depending on the style of texture you are creating, ensure you have the right tools for the job.
Most common areas for texturing walls include the dining room and living room, but bedrooms can also have texture and bathrooms. Consider the style of the room and the overall style the added textured will bring to the space. If you want to texture the kitchen ceiling, remember that textured walls may be harder to clean and tend to hold onto dust and smoke. Bathroom ceilings can pose a similar issue with steam and humidity.
Drips and accidental sprays to nearby walls may occur when texturing your ceiling. Cover your furniture and floors with drop cloths and plastic tape sheeting on the perimeter of the ceiling. Also, remove any vent covers to avoid spraying them.
Adding primer before you texture your walls offers two key benefits:
1. It will help mask the appearance of the previous paint color.
2. It will help the new paint and textured mixture adhere to the ceiling.
It’s best to choose a primer in color as close as possible to your final color to avoid any inconsistencies with your desired color choice once the project is complete.
It’s time to buy smarter. Richr gives you cash back helping you buy the home of your dreams.
Call us now on 1-844-957-4247 or Start Searching Your Home Now!
Look for the right paint required to mix well with your texture before applying the mixture to the wall. Some drywall products will require either latex or oil-based paint to work correctly. Once you mix the color and texture, test a patch on the ceiling to ensure it looks like you want it to.
Use the tools required for your desired wall texture and paint the ceiling. Look out for your furniture and covered items in the process. Let the paint dry before you remove any tape or add vents and fixtures back to your space. Also, ensure the paint is thoroughly dried before adding a second layer of texture.
Texturing your walls and ceilings is a great way to revamp your space and add unique style to your home. The seven types of wall textures are the most popular, but there are endless types of wall textures. When deciding on wall texture, go for the one that best fits your space and ensure you apply it correctly.
If you’re looking to buy or sell a house and would like to discuss your option, Richr can help you!
Our fully licensed Concierge Team is here to questions and provide free, objective advice on how to get the best outcome with your sale and purchase.
Ready to get started?
Call us now on 1-844-957-4247 or enter your basic info
below. Our concierge Team will be in touch shortly to help.
Remember, this service is 100% free and there’s never any obligation


If you want the Richr team to help you save thousands on your home just book a call.

