Agent A-Team or Solo Superhero? Finding the Right Real Estate Partner for Your Selling Journey in Wildwood Florida
When it comes to selling your home in Wildwood, Florida,…
January 29, 2024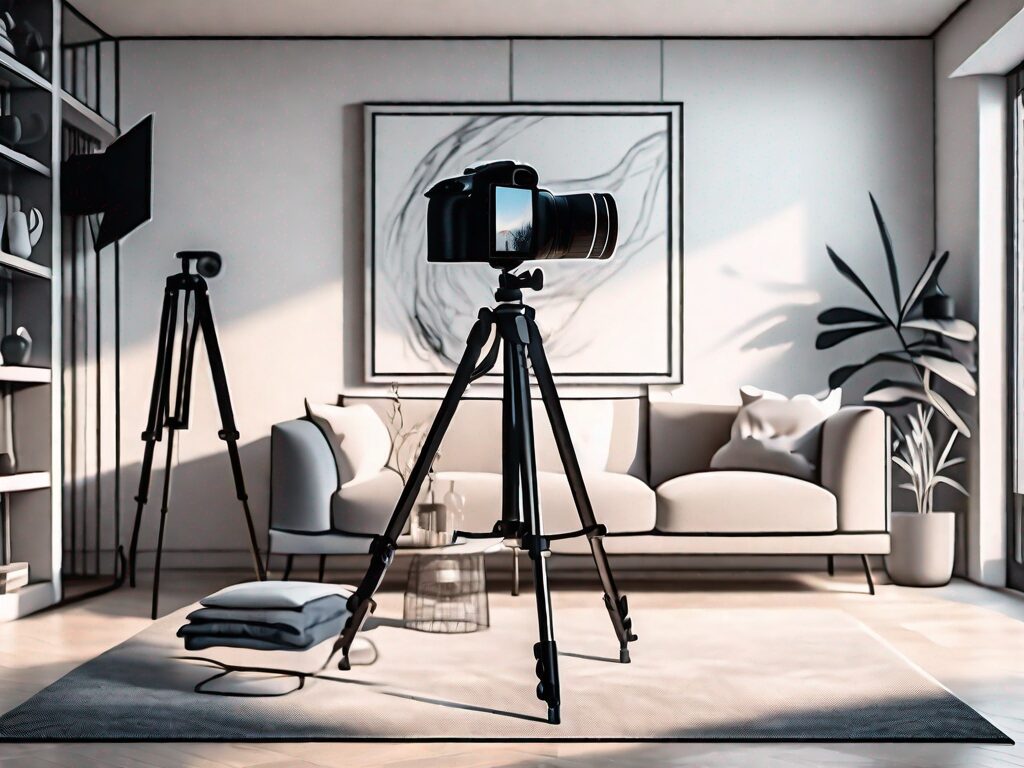
In today’s highly competitive real estate market, it is essential to showcase your home in the best possible light. And what better way to captivate potential buyers than with stunning photographs? Mastering the art of real estate photography can make all the difference when it comes to attracting interest and securing a sale. In this article, we will explore essential tips for a successful home photoshoot, covering everything from communication with your agent to selecting the most impressive photos to showcase online.
Before embarking on your home photoshoot journey, it is crucial to have open and effective communication with your real estate agent. Discuss your photography goals and expectations, ensuring that they understand your vision for capturing the essence of your home. By aligning your objectives upfront, you can save time and avoid any potential misunderstandings throughout the process.
During this discussion, you can also inquire about the photographer’s experience and expertise in real estate photography. Ask for samples of their previous work to get a sense of their style and capabilities. This will help you gauge whether their skills align with your vision for showcasing your home.
Additionally, consider discussing any specific features or areas of your home that you want to highlight in the photographs. Whether it’s a stunning backyard oasis or a beautifully renovated kitchen, make sure your agent and photographer are aware of these focal points so they can be captured in the best possible way.
Prior to the photoshoot, it is vital to prepare your home to make it visually appealing. Start by decluttering and depersonalizing the space, allowing potential buyers to envision themselves living there. Clean each room thoroughly, paying attention to details such as dusting, vacuuming, and organizing furniture. Remember, a well-presented home is more likely to attract interest and leave a lasting impression.
In addition to cleaning, consider staging your home to create a welcoming atmosphere. This can involve rearranging furniture, adding decorative accents, and even bringing in fresh flowers or plants. The goal is to create a space that feels inviting and allows potential buyers to imagine themselves living in your home.
Furthermore, pay attention to the exterior of your home. Curb appeal is essential in attracting potential buyers, so make sure your front yard is well-maintained and any outdoor spaces are tidy and inviting. Consider adding some potted plants or outdoor furniture to create a welcoming first impression.
If you have recently completed renovations or home improvements, it’s crucial to wait until the dust settles before scheduling your photoshoot. Give yourself enough time to ensure that all the finishing touches are in place for the best possible representation of your home. By timing the shoot strategically, you can maximize the impact of your photographs and showcase your property at its very best.
Consider consulting with your contractor or interior designer to determine the optimal time for the photoshoot. They can provide valuable insights on when the renovations will be fully completed and when the space will be at its most photogenic. This way, you can ensure that your photos accurately reflect the quality and craftsmanship of the recent upgrades.
Furthermore, if you have any ongoing projects that are not yet complete, it may be wise to postpone the photoshoot until they are finished. This will prevent any unfinished areas from being captured in the photographs and potentially turning off potential buyers.
Unfortunately, mother nature doesn’t always cooperate when it comes to scheduling your photoshoot. To avoid any weather-related setbacks, it’s wise to have a backup plan in place. Consider rescheduling if the forecast is unfavorable, or have an indoor photoshoot option available. By being prepared, you can ensure that the weather won’t hinder your efforts in capturing stunning images of your home.
If you do decide to proceed with an outdoor photoshoot despite uncertain weather conditions, there are a few things you can do to mitigate potential issues. Have a plan for protecting your equipment and keeping it dry, such as using waterproof covers or shooting under a covered area. You can also embrace the weather and use it to your advantage, capturing unique shots with raindrops or snowflakes adding a touch of atmosphere to the images.
Remember, the goal is to showcase your home in the best possible light, so it’s important to be flexible and adaptable when dealing with unpredictable weather conditions.
When preparing your home for the camera, it’s essential to pay attention to the details. Clear countertops and surfaces, fluff pillows, and arrange decorations thoughtfully for a visually appealing composition. Take the time to capture shots from multiple angles, highlighting each room’s unique features. By creating a picture-perfect setting, you can enhance your home’s visual appeal and entice potential buyers to schedule a visit.
Consider adding some finishing touches to each room to make them feel warm and inviting. This can include adding fresh flowers, setting the dining table, or even lighting a scented candle to create a pleasant aroma. These small details can make a big difference in how your home is perceived through the photographs.
Furthermore, pay attention to the lighting in each room. Natural light is always preferred, so open curtains and blinds to let in as much sunlight as possible. If certain areas are lacking in natural light, strategically place lamps or use professional lighting equipment to ensure that every corner of your home is well illuminated.
During a photoshoot, it’s essential to be mindful of fragile items and delicate decor. Take extra precautions to protect valuable and fragile pieces from accidental damage. Remove any fragile or personal items from the shot to ensure they remain safe throughout the process. By safeguarding your cherished belongings, you can focus on capturing stunning images without the worry of potential accidents.
If you have any particularly valuable or delicate items that you want to showcase, consider discussing this with your photographer beforehand. They may have experience in photographing such items and can offer suggestions on how to handle them safely. Alternatively, you can arrange for these items to be photographed separately in a controlled environment to ensure their protection.
Remember, the safety of your belongings should always be a top priority, even when capturing beautiful images of your home.
Soft staging is a technique that aims to enhance the visual appeal of your home without the need for full-scale furniture rentals. By strategically placing select decorative items, such as fresh flowers or stylish accessories, you can create an inviting atmosphere that resonates with potential buyers. Soft staging can help showcase your home’s potential and give buyers a glimpse into how they can make the space their own.
When soft staging, it’s important to strike a balance between creating an inviting atmosphere and allowing potential buyers to envision their own style in the space. Avoid over-staging or cluttering the rooms with too many decorative items. Instead, focus on highlighting the key features and creating a sense of warmth and livability.
Consider consulting with a professional home stager for expert advice on soft staging. They can provide valuable insights on how to make the most of your existing furniture and accessories, as well as suggest any additional items that may enhance the overall aesthetic of your home.
When photographing your home, it’s important to make the most of every feature, even if some may initially be viewed as less desirable. If your home has a less than optimal view from windows, consider using creative techniques to draw the viewer’s attention away from it. Decorative window treatments, strategically placed plants, or focal point art can redirect the eye and create a captivating frame for your photographs.
Consider consulting with an interior designer or window treatment specialist to explore creative solutions for enhancing your windows. They can suggest the most suitable window treatments that not only address privacy concerns but also add a touch of elegance and style to your home. Additionally, they can recommend other design elements that can help divert attention from the less desirable views.
Remember, the goal is to create a visually appealing representation of your home that captures the attention of potential buyers. By transforming undesirable window views into eye-catching features, you can make a positive impression and showcase the full potential of your property.
Proper lighting plays a significant role in capturing beautiful real estate photographs. Maximize natural light by opening curtains and blinds, allowing sunlight to flood your home. Additionally, consider using supplementary lighting techniques such as strategically placed lamps or professional lighting equipment to ensure that every corner of your property is well illuminated. By shedding light on your home, you can highlight its best features and create a warm, inviting atmosphere.
When it comes to lighting, it’s important to strike a balance between creating a bright and inviting atmosphere and avoiding harsh or unnatural lighting conditions. Experiment with different lighting setups and angles to find the most flattering and visually appealing options for each room.
If you’re unsure about the best lighting techniques for your home, consider hiring a professional photographer who specializes in real estate photography. They will have the expertise and equipment necessary to capture your home in the best possible light.
Before your photoshoot, it’s helpful to create a shot list outlining the key areas and features you want to capture. This will serve as a guide for both you and the photographer, ensuring that no important shots are overlooked. Consider including exterior and interior shots, highlighting unique architectural elements, spacious rooms, and well-maintained outdoor areas. By capturing the best angles of your home, you can paint a comprehensive picture for potential buyers.
When creating your shot list, think about the story you want to tell through the photographs. Consider the flow of the images and how they will be presented in your online listing. Start with exterior shots that showcase the curb appeal of your home, then move inside to capture the most impressive features and rooms. Don’t forget to include any special amenities or unique selling points that set your home apart from others on the market.
Share your shot list with your photographer and discuss any specific ideas or preferences you have. They can offer valuable insights on the best angles and compositions for each shot, as well as suggest any additional shots that may enhance the overall presentation of your home.
Deciding whether to be present during the photoshoot is a personal choice that should be discussed with your agent. While some homeowners prefer to be onsite to offer guidance and answer questions, others find it beneficial to step away, allowing the photographer to work independently. Discuss your comfort level with your agent and collectively decide on the best approach that will result in the most successful outcome.
If you choose to be present during the photoshoot, it’s important to strike a balance between being helpful and allowing the photographer to work their magic. Offer assistance when needed, such as providing access to certain areas or pointing out unique features, but also give the photographer the space and freedom to capture the shots they envision.
Alternatively, if you decide to step away during the photoshoot, make sure you provide your agent or the photographer with any necessary instructions or information beforehand. This can include details about specific features or areas that you want to be highlighted, as well as any access codes or keys that may be required.
It’s always a good practice to inform your neighbors about the upcoming photoshoot. Letting them know in advance can help minimize any inconvenience and ensure a smooth process. Consider leaving a friendly note or personally notifying them of the date and approximate duration of the shoot. Being considerate of your neighbors will not only foster positive relationships but also create a more supportive and cooperative environment throughout the selling process.
Additionally, if the photoshoot involves any aerial photography or the use of drones, it’s important to inform your neighbors about this as well. This will allow them to take any necessary precautions, such as securing their pets or moving their vehicles, to ensure the safety of everyone involved.
By maintaining good relationships with your neighbors and keeping them informed, you can create a more harmonious environment and potentially even generate positive word-of-mouth about your home.
During the photoshoot, you may feel compelled to assist the photographer in achieving the desired shots. While it’s essential to be helpful, it’s equally important to respect their expertise and creative process. Collaborate with the photographer by providing necessary information about your home and pointing out significant features. However, avoid micromanaging or insisting on specific shots. Trust in their professional capabilities to capture the essence of your home.
Remember, photographers have a trained eye for composition, lighting, and capturing the unique qualities of a space. They may have creative ideas or techniques that you haven’t considered. By giving them the freedom to work their magic, you increase the chances of capturing truly stunning images that will attract potential buyers.
That being said, if you have any specific requests or ideas that you feel strongly about, don’t hesitate to communicate them to the photographer. A collaborative approach can often lead to the best results.
After the photoshoot, you will be presented with a collection of images showcasing your home in its best light. Take the time to review each photograph and select the most impressive ones that fully capture your home’s unique qualities. Opt for images that evoke an emotional response and highlight the key selling points. Remember, quality always outweighs quantity when it comes to online listings, so choose wisely and ensure your selected photos present your home in the most appealing way.
When selecting the photos, consider the overall story you want to tell about your home. Choose images that flow well together and create a cohesive narrative. Think about the order in which the photos will be presented in your online listing and how they will capture the attention of potential buyers.
If you’re having trouble deciding on the final selection, consider seeking input from your agent or even friends and family. They can provide fresh perspectives and help you choose the images that best represent your home’s unique charm and appeal.
When it comes to posting your real estate photographs online, it’s crucial to strike the right balance between providing enough visual information while avoiding overwhelming potential buyers. Too many photos can be distracting and dilute the impact of the most captivating shots. Select a reasonable number of carefully curated photos that showcase your home’s best features, leaving viewers intrigued and eager to learn more during a physical viewing.
Consider the platform on which you will be posting your photos and the typical expectations of potential buyers. For example, if you’re listing your home on a real estate website, there may be limitations on the number of photos you can upload. In this case, focus on selecting a few high-quality images that capture the essence of your home.
When curating your photos, aim to provide a well-rounded representation of your home. Include exterior shots, interior shots of key rooms, and any unique features or amenities that set your home apart. Remember, the goal is to entice potential buyers and leave them wanting to see more.
Mastering the art of real estate photography is an invaluable skill that can significantly contribute to the success of your home selling journey. By effectively communicating with your agent, preparing your home meticulously, and capturing the best angles and features, you can create a visually stunning representation of your property. Utilize these essential tips, and you’ll be well on your way to impressing potential buyers and securing a successful home photoshoot.

If you want the Richr team to help you save thousands on your home just book a call.
 Book a call
All information provided is deemed reliable but is not guaranteed and should be independently verified. You should consult your own professionals for financial, legal, or tax advice and conduct your own due diligence. Brokerage services are provided by Richr Homes, FL License # 1060165. Services of Richr's affiliates, Richr Insurance and Richr Title, are optional and can be used in combination or separately.